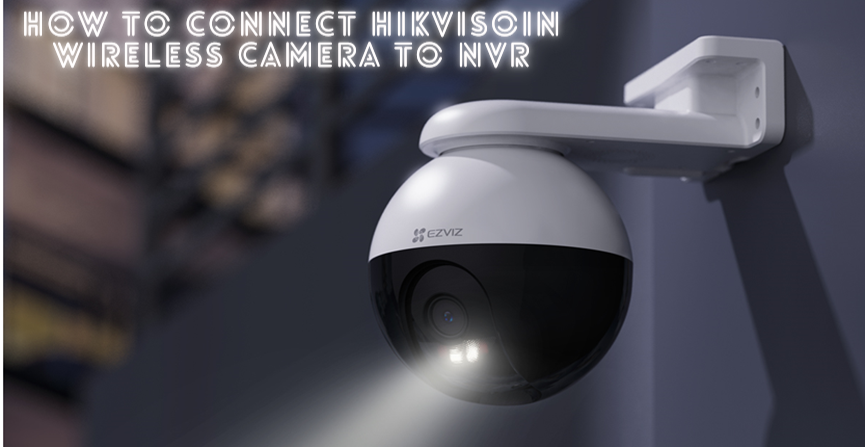
A Step-by-Step Guide: Connecting a Hikvision Wireless Camera to a Hikvision NVR
Introduction
In the world of modern security systems, Hikvision stands
out as a trusted name, offering a range of advanced surveillance solutions. One
such combination is connecting a Hikvision wireless camera to a Hikvision
Network Video Recorder (NVR). This powerful setup provides you with a seamless
and robust surveillance experience. In this guide, we'll walk you through the
step-by-step process of connecting these two components for enhanced security
and peace of mind.
Step 1: Gather the Necessary Equipment
Before you begin, ensure you have all the required equipment
ready:
- Hikvision
wireless camera(s)
- Hikvision
NVR with power adapter
- Ethernet
cables (for initial setup and configuration)
- Monitor/TV
(for NVR setup)
- Mouse
(for NVR setup)
- Network
router and internet connection
- A
computer or mobile device (for configuring camera settings)
Step 2: Mount the Wireless Camera
Choose an appropriate location to mount the wireless camera
for optimal coverage. Ensure the camera is within the Wi-Fi range and offers a
clear view of the area you wish to monitor. Follow the camera's installation
guide to securely mount it.
Step 3: Power Up the NVR and Camera
Connect the Hikvision NVR to a power source using the
provided power adapter. Power up the wireless camera as well. Allow both
devices to initialize.
Step 4: Initial NVR Setup
- Connect
the NVR to a monitor or TV using an HDMI cable.
- Connect
a USB mouse to the NVR for navigation.
- Follow
the on-screen instructions to set the date, time, language, and other
basic settings.
Step 5: Configure Camera Settings
- On a
computer or mobile device, connect to the same Wi-Fi network as the
camera.
- Using
the Hik-Connect app or a web browser, access the camera's settings by
entering its IP address.
- Configure
the wireless settings of the camera to connect it to your Wi-Fi network.
Make sure to note down the camera's IP address.
Step 6: Add Camera to NVR
- On
the NVR, go to the "Camera Management" or "Device
Management" section.
- Select
"Add New" or a similar option.
- Enter
the camera's IP address, username, and password. These credentials are set
during camera configuration.
- Save
the settings and let the NVR establish a connection with the camera.
Step 7: Adjust Camera Display and Recording Settings
- Access
the NVR's interface using the connected monitor and mouse.
- Navigate
to the camera's settings and adjust display preferences such as
resolution, frame rate, and image quality.
- Configure
recording settings, such as continuous recording or motion-triggered
recording.
Step 8: Remote Viewing Setup
- Create
a Hik-Connect account if you don't already have one.
- On
the NVR, enable the Hik-Connect service and link it to your account using
the device verification code.
- Install
the Hik-Connect app on your mobile device and log in.
- You
can now remotely view the camera feed and manage settings from anywhere
with an internet connection.
Conclusion
Connecting a Hikvision wireless camera to a Hikvision NVR is
a powerful way to enhance your surveillance capabilities. This guide has taken
you through the step-by-step process, from mounting the camera to configuring
settings and enabling remote viewing. By following these instructions, you can
create a comprehensive and reliable security system to protect your property
and loved ones. Remember to refer to the official Hikvision documentation for
any specific details or updates related to your camera and NVR models.


0 Comments